Immigration client onboarding is how you collect a visa applicant’s forms, documents and signatures in one structured, secure flow. This guide walks through the steps in order, then lists the document groups most visa files need.
Requirements vary by country, consulate and visa category, so treat every list here as a starting map. This is general process guidance, not legal or immigration advice.
The sequence below works for tourist, student and work visa files. Adapt the detail to the destinations and categories you handle.
Start with a short intake form. The answers decide which documents the case actually needs, so send it before any request list.
Ask for:
This one step stops you asking a retired applicant for an employer letter. It also flags a case that sits outside your scope on day one.
Store the answers on the case file. You will reuse them for the checklist, the forms and the fee quote.
Keep a reusable checklist for every category you handle. A master list you trim by hand for each new case will drift within a month.
Write items in the client’s words, not yours. “Bank statements for the last three months, all pages, downloaded as PDF” beats “financial evidence”.
For Schengen files, start from a ready-made Schengen visa application template. Adapt the structure to each consulate’s published list.
Review those published lists on a schedule. Consulates change requirements quietly, and a checklist that was right in spring can be wrong by autumn.
Link each checklist item to the profile answers from step 1. Typical branches look like this:
Conditional rules keep the client’s view short. A short view gets finished. A list of 40 items with half of them marked “if applicable” does not.
For families, show shared items once for the whole file and personal items once per applicant. Nobody should upload the same lease three times.
Put third-party documents at the top of the list. Employer letters, bank references and civil records arrive on someone else’s schedule, and you cannot compress that wait.
Set your client deadline ahead of the real appointment date. That buffer is what lets you replace a rejected document without moving the appointment.
Tell the client what happens after the last item is approved. A single line about booking and submission removes a surprising number of status calls.
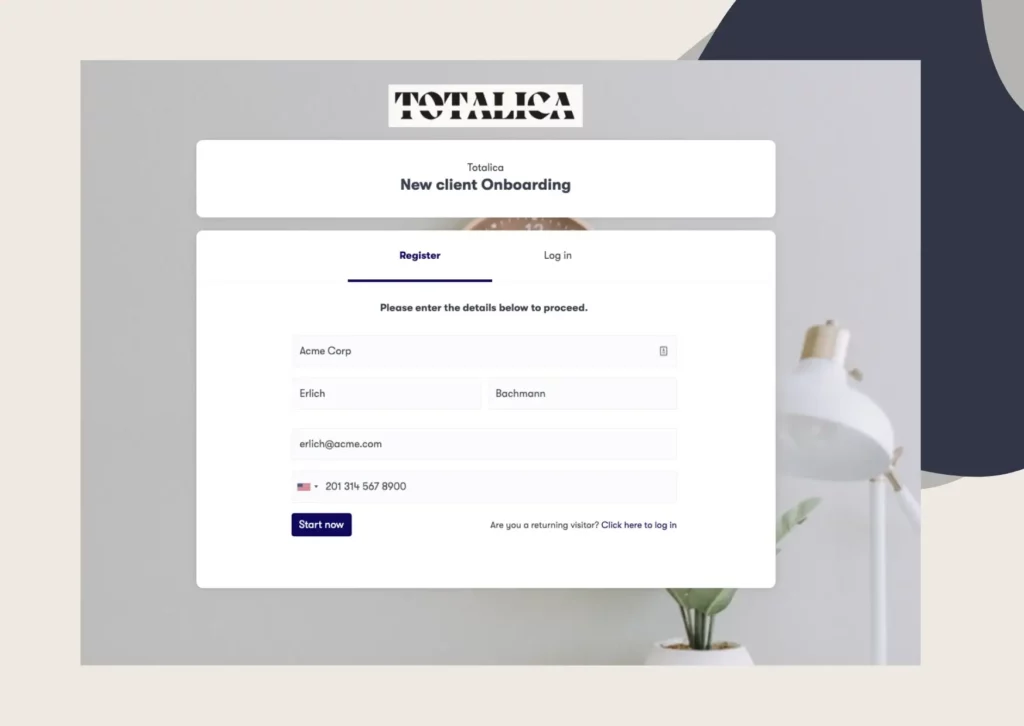
Give every client one place to upload on day one. Clients copy the channel you start with, so if the first passport scan arrives by email, they all will.
Email attachments carry no access control, no version history and no record of who opened them. A portal gives you all three.
Look for role-based access, so a case worker sees only the files assigned to them. Ask for a time-stamped audit trail of every upload, approval and rejection.
Clustdoc is SOC 2 Type II certified and GDPR compliant, and stores client data encrypted at rest. It can also delete that data automatically once your retention period ends.
Check documents as they land, not the night before the appointment. Accept or reject each file with a short note saying exactly what to fix.
Name the reason in the note. The usual ones are easy to describe:
The client should resubmit in the same place, against the same item. Corrections by email thread are how versions get lost.
Reminders are the part you should never do by hand. Automated email or SMS follow-ups can run until an item arrives, so nobody on your team writes chase messages.
Signatures belong in the same flow. Engagement letters and consent forms can be signed electronically before the file moves on.
Running intake in one system also gives you numbers to manage by:
We run this as one branded portal, with a conditional checklist, document review, eSignatures and automatic reminders in a single flow.
Judge the software on the boring details, not the feature list. Four questions separate the useful tools from the rest:
Purpose-built client intake software is designed around those questions. A general file-sharing folder is not.
Requirements differ by destination, category and sometimes by the individual consulate. Treat the groups below as a map, not a fixed list. Permanent residence and family reunification files usually go further.
Passports usually have to stay valid beyond the travel dates. The exact window is set by the destination, so write it on the item.
Most authorities want statements to be recent. Request them late enough that they are still valid at submission.
Translation and certification rules vary by authority. Put the requirement on the checklist item itself, so it never turns up as a surprise.
To see a guided visa intake flow running on your own checklists, Book a demo call with the Clustdoc team.
Most of the delay sits with third parties, not with the applicant. With a conditional checklist and automatic reminders, active collection often runs in days rather than weeks. Employer letters and official certificates set the real floor.
Vague requests. “Financial evidence” gets you one page from a savings account. A named item with a format, a page count and a date range gets you the right document first time.
It is a weak choice. Attachments spread across devices and forwards, with no permissions and no log of who opened them. A secure portal keeps the documents in one place with access controls and an audit trail.
Treat the family as one file with several applicants. Shared items such as accommodation and itinerary appear once. Personal items such as birth certificates appear per person, and your dashboard shows who still owes what.
It should, wherever you can manage it. Clustdoc flows can run in more than 10 languages, which helps when your applicants do not share one. Keep item names plain, because most people are reading in a second language.
Still stitching emails, files, and approvals together?
Clustdoc gives teams one place to run client-facing work, boost customer engagement and increase compliance.

Claire writes about customer onboarding, digital processes, and the day-to-day challenges faced by operations teams. At Clustdoc, she focuses on practical insights: how organizations collect information, guide customers through complex steps, and improve service delivery with automation.