The first 30 days can shape how a customer feels about your business for months. If they know what happens next, get answers quickly, and see progress early, the relationship starts well. If the process feels unclear or disorganised, even a good product can lose momentum.
That is why it helps to have a clear plan for every new account instead of deciding each step as you go. This guide shows you how to plan customer onboarding across the first 30 days, what to include in your template, and which milestones help you keep every customer moving forward.
A template helps because onboarding repeats. The same welcome, the same documents, and the same setup steps happen for every new customer. Writing them down once saves hours on every account after that.
If you are working out how to create a customer onboarding process for the first time, keep the template short. It only needs five ingredients:
You can build this in a doc or a spreadsheet. The format matters less than the ownership, so give every line a name and a date.
If you would rather start from something proven, Clustdoc’s customer onboarding templates are ready-made versions of this structure. They also double as customer onboarding process examples from other industries, which is useful when you are designing your own.
Here is a 30-day plan you can copy into your template and adapt to your product or service.
Send the welcome message within one day of the deal closing. It should confirm what the customer bought, introduce the person running their onboarding, and name the first thing you need from them.
Send your document and information requests at the same time, as one list. One complete list beats a drip of surprise requests over three weeks. The customer can forward it internally once and collect everything in parallel.
Keep the tone warm but concrete. A welcome that only says how excited you are wastes the moment. A welcome that says what happens next starts the plan.
Book the kickoff before the end of week one, even if some documents are still missing. Waiting for a complete file is the most common way week one turns into week three.
Use the call to agree on one measurable definition of success for day 30. Confirm who owns each step on both sides, and put the later check-ins in the calendar while everyone is present.
End with a written summary. A five-line recap email prevents the situation where both sides leave the call with a different version of the plan.
Week two is where onboarding usually stalls, because your setup work depends on the customer’s documents and answers. Chase missing items early and on a fixed schedule, so no single reminder feels personal or pushy.
Once setup is complete, walk the customer through first use in the same week. Do it live rather than sending a recorded tour. Watching where they hesitate tells you more than any survey will.
If a step on their side is blocked, say so plainly and offer a workaround. Silence during week two reads as neglect, even when you are working hard behind the scenes.
Aim to deliver one visible result by day 21. Pick something small but real: the first report sent, the first workflow live, the first case handled end to end.
If day 21 arrives with nothing to show, cut the scope rather than moving the date. Half a result on time beats a full result in month two.
Announce the result when it happens, and connect it to the success measure from the kickoff. This milestone carries more weight than any satisfaction score. A customer who has already seen one result treats the rest of onboarding as progress rather than homework.
Close the month with a short review call. Compare what happened against the success measure you agreed at kickoff, and be honest about anything that slipped.
Then set goals for days 31 to 90, so the relationship does not stop the day the plan runs out. If you have a dedicated success team, this is usually where the customer success onboarding process takes over from the sales handover.
Finish by asking one question: what almost made you regret buying? The answer improves the template for the next customer.
Track four dates for every account: welcome sent, kickoff held, first result delivered, and 30-day review done. If you record nothing else, record these. They show exactly where each customer sits in the plan.
Then watch the gaps between the dates. If the gap between welcome and kickoff keeps growing across accounts, your customer onboarding process has a scheduling problem, not a customer problem. If first results keep landing after day 30, the plan promises more than the team can deliver, and the template needs trimming.
A shared checklist makes all of this visible without status meetings. These onboarding checklist templates break the first 30 days into lists you can copy, assign, and tick off as each account moves through them.
A template in a doc still depends on someone remembering to run it. An automated customer onboarding process runs itself. The welcome goes out on time, the document list arrives as a checklist, and reminders chase missing items so your team does not have to.
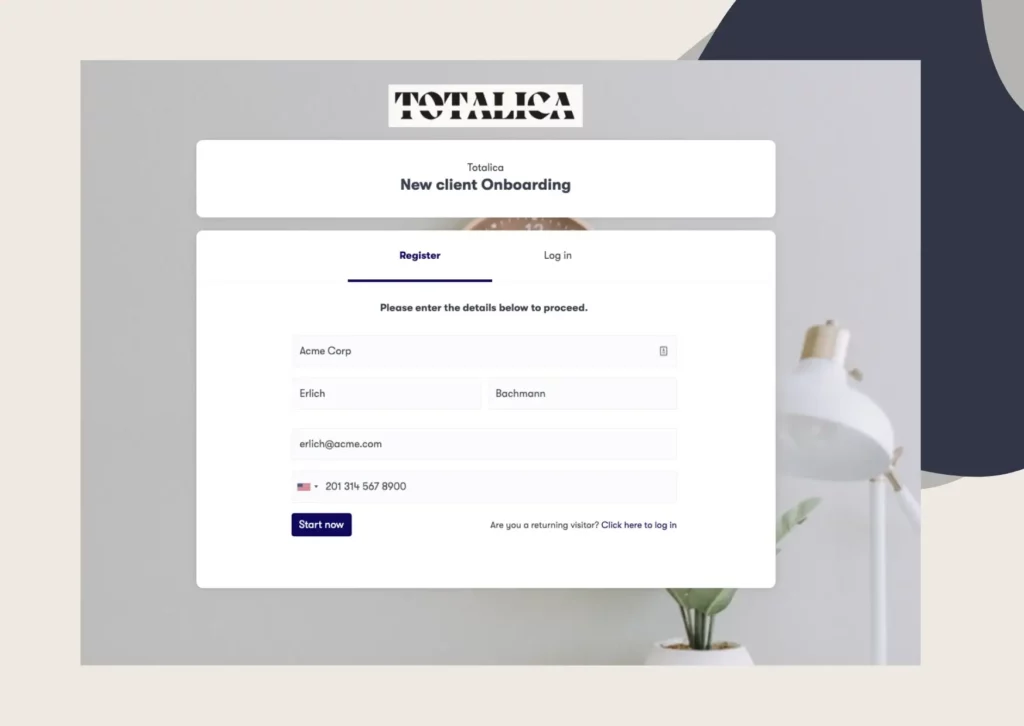
This is what our platform is built for. You load your template once as a workflow. Every new customer then gets a branded portal with their forms, document requests, eSignatures, and tasks in one place.
From there, the workflow keeps each account moving. Automated email and SMS reminders follow up on outstanding items, and conditional rules can show each customer only the steps that apply to them, which keeps their checklist short. Meanwhile, a dashboard shows your team where every account stands in real time.
The gain is not only speed, although our customers report onboarding time cut in half. It is consistency. Account twelve gets the same first 30 days as account one, without anyone holding the process together by memory.
When you are ready to see your own template running as an automated flow, book a demo call. The Clustdoc team will show you the platform on your own use case.
It is the sequence of stages a new customer moves through: welcome, information collection, kickoff, setup, first use, first result, and review. Drawing it as a simple left-to-right flow helps teams spot missing handoffs. The 30-day plan above is that flow with dates attached.
A B2B customer onboarding process usually involves more people on both sides, so ownership matters more. Every step needs a named owner at your company and at the customer's. The decision-maker and the daily users are often different people, and the plan should include both.
Yes, with compliance steps added. A customer onboarding process in banking typically includes identity verification and KYC or AML checks before the relationship goes live. The exact requirements vary by country and regulator, so build your compliance team's checklist into the template rather than copying a generic one.
It can be, for simple products. A SaaS customer onboarding process can compress the same stages into a week or two when setup is light. Keep the milestones even if you shorten the calendar, because the first result is still what predicts whether the customer stays.
One named person per account, whatever their title. In smaller teams that is the founder or an account manager, while larger teams hand it to customer success. Split ownership is the most common reason a plan stalls in week two.
Still stitching emails, files, and approvals together?
Clustdoc gives teams one place to run client-facing work, boost customer engagement and increase compliance.

Claire writes about customer onboarding, digital processes, and the day-to-day challenges faced by operations teams. At Clustdoc, she focuses on practical insights: how organizations collect information, guide customers through complex steps, and improve service delivery with automation.