PDFs are everywhere in business.
According to Adobe, more than 400 billion PDF files were opened in 2022 alone, and that number keeps climbing.
Most of those documents get used in administrative work, financial services, and anywhere people deal with compliance or heavy documentation.
So if you need to create a fillable form PDF, you’re definitely not alone.
The technical part isn’t that complicated once you know the steps, and most organizations already have the documents they need anyway, whether it’s a Word file that’s been around forever or a paper form everyone’s been using for years.
This guide walks you through building a fillable form PDF that actually works when real people use it.
You’ll see how to set it up with tools you probably already have, how to structure everything so external users can move through it easily, and which design choices make the difference between forms that come back finished and forms that create more work for everyone.
You’ll also know when fillable PDFs are the right call and when you might need something different to handle your process at scale.
Intake forms shouldn’t need follow-ups.
Most teams start with documents they already use on a day to day basis.
Maybe it’s a Word document that someone created years ago, or a paper form that’s been used forever, or an existing PDF that was never actually designed for people to fill out digitally.
That will be your starting point, and it’s fine. I am going to walk you through this in simple steps.
The first thing you need to do to create a fillable PDF is converting that source file into a stable PDF form.
If you already have an existing PDF document to start with, you can skip this option.
But if you’re working from a Word document, you can export it directly to PDF and your layout should stay intact.
Here is how to do it using Google doc.
If you’re working from paper, scan the document using a scanner or a scanning app on your phone. You need a clear image where the text is readable and the layout looks right.
Save it as a PDF directly if you can, or convert it from an image file afterward.
Once you have the scanned PDF, open it in Adobe Acrobat or your PDF editor.
The file is basically just an image at this point. Run it through OCR if your editor has that feature.
This makes the text searchable and lets you edit it later if needed, though it’s not required just to add form fields.
Once you have that stable PDF, you can start adding fillable form fields.
You’ll still need a PDF editor for this.
Adobe Acrobat is the most common tool, but there are other programs that can also help with creating editable PDFs.
Open your PDF document in the form editing mode and you’ll be able to place fields directly on top of your existing document.
Here is a quick walkthrough of the different field types you’ll need:
Add fillable fields:
Text fields are what you use when someone needs to type information like their name, address, or a reference number.
These are going to be your future form fields.
Insert additional fields:
Drop down menus and radio buttons work better when you want people to choose from a set list of options. This matters more than you might think because it reduces the chance that someone types something you can’t use later.
Checkboxes are good for confirmations or declarations where someone just needs to mark yes or no.
Date fields help standardize how people enter dates, and signature boxes give people a clear place to allow people to sign documents you send across.
Now here’s where a lot of people rush through and regret it later.
You need to configure each field individually.
• Mark which fields are required so people know they can’t skip them including the signature boxes.
• Add character limits where it makes sense.
• Make sure the font size and spacing work so that when someone types into a field, the text doesn’t disappear or overflow in a weird way.
These details feel tedious when you’re building the form, but they’re the difference between a form that works and one that frustrates everyone who tries to use it.
And you’re done! Your PDF document is now ready.
Before you send this fillable PDF form to anyone, test it yourself as if you were the recipient.
Close the editing mode.
Open the PDF document with a regular PDF reader or in your browser and fill out every single field then save the file to your computer.
You’ll then need to open this document once again to make sure everything you typed is still there and all form fields are correctly filled out.
This step catches a surprising number of problems, especially around how the PDF handles saving data or whether signature fields actually work the way you expect.
At this point, you have a fillable PDF form that technically works.
Real clients can open it, type into it, save it, and send it back.
Whether they actually do that without hitting problems depends entirely on how you designed the form itself.
Once you have your form fields in place, success becomes less about the tool you used and more about how you structured everything for people who have never seen this document before.
Your form fields need to follow a natural reading flow from top to bottom and left to right.
When form fields jump around or sections feel randomly ordered, clients pause.
They scroll back up to see if they missed something.
They hesitate and sometimes they just skip sections entirely, even when you included instructions.
Group related information together. If you’re asking for contact details, keep all of that in one area.
Put document requests in another clear section to reduce the amount of back and forth movement across pages.
The easier you make it for someone to fill out your form in one smooth pass, the more likely they are to finalize it correctly.
Form fields give people freedom to type whatever they want, which sounds good until you realize that freedom creates chaos.
One person writes their phone number with dashes, another uses spaces, someone else includes the country code, and a few just type the numbers straight through.
Now you have data in five different formats and someone on your team has to clean it up manually before you can use it.
Dropdown menus, radio buttons, and checkboxes solve this problem.
When you give people a fixed set of options to choose from, everyone’s responses come back in the same format.
That makes validation easier and saves time later when you need to review submissions or move data into your workflows.
Use constrained inputs wherever you can and save the free text fields for situations where you genuinely need open ended responses.
Your clients should never have to guess which information they absolutely need to provide.
To avoid this, you can mark within your fillable PDF document, all required fields clearly with a consistent symbol or label.
Also, add short inline instructions when a field might be confusing. Don’t make people hunt through paragraphs of text to figure out what they’re supposed to do.
A fillable PDF should feel simple and approachable when someone opens it for the first time. Your fillable fields need to be visually distinct from the static text around them.
Make sure everything is properly aligned and that you have enough white space between sections. Use a readable font size. Keep your spacing consistent throughout the document.
What looks fine to you after working on it for hours often feels cluttered and confusing to someone seeing it fresh.
Fillable PDF forms that try to cram too much information onto one page might save paper when printed, but they create friction when people try to fill them out digitally. In order words, give your PDF form room to breathe.
Fillable PDFs work fine when you’re collecting information here and there. You send it out, someone fills it in, sends it back. Simple enough.
Things change when you’re doing this every week. Maybe you’re onboarding clients regularly, processing vendor applications on a schedule, or collecting compliance documents from multiple people.
The PDF form still works, but you start seeing the same issues repeat.
Certain fields always get skipped.
The same questions come back.
Files show up in different formats or don’t save right.
What really gets most people is realizing they’re spending more time cleaning up after submissions than they spent building the form.
Then, someone has to check everything manually, chase missing information, organize files, route them to the right people.
That’s when a form online starts making more sense. Let’s deep dive.
Online forms built with HTML adapt much more easily as your requirements change.
You can add or remove fields without creating new file versions and redistributing them to everyone.
You can enforce validation rules in real time while someone is filling out the form rather than discovering errors later.
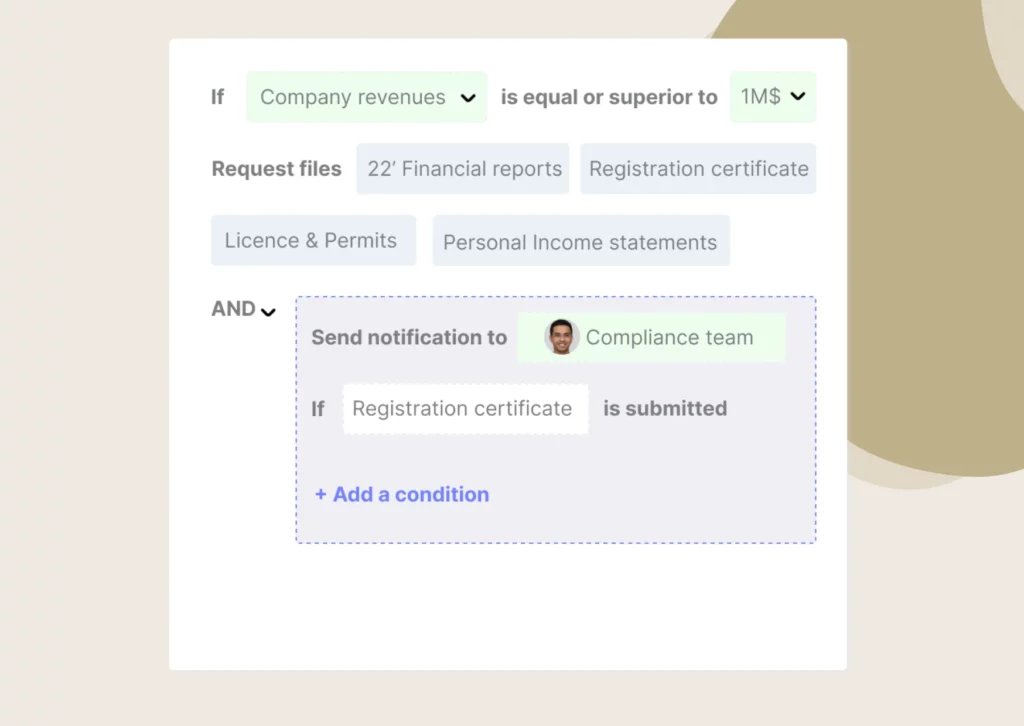
In Clustdoc forms for example, you can use conditional logic to show or hide fields based on how someone answers earlier questions, which makes the experience simpler for clients and ensures you only collect information that’s actually relevant.
The data comes back structured and consistent because the form controls what format people can use to enter information.
That eliminates most of the cleanup work that happens after someone submits a fillable PDF, and it makes the information much easier to review and reuse in your downstream processes.


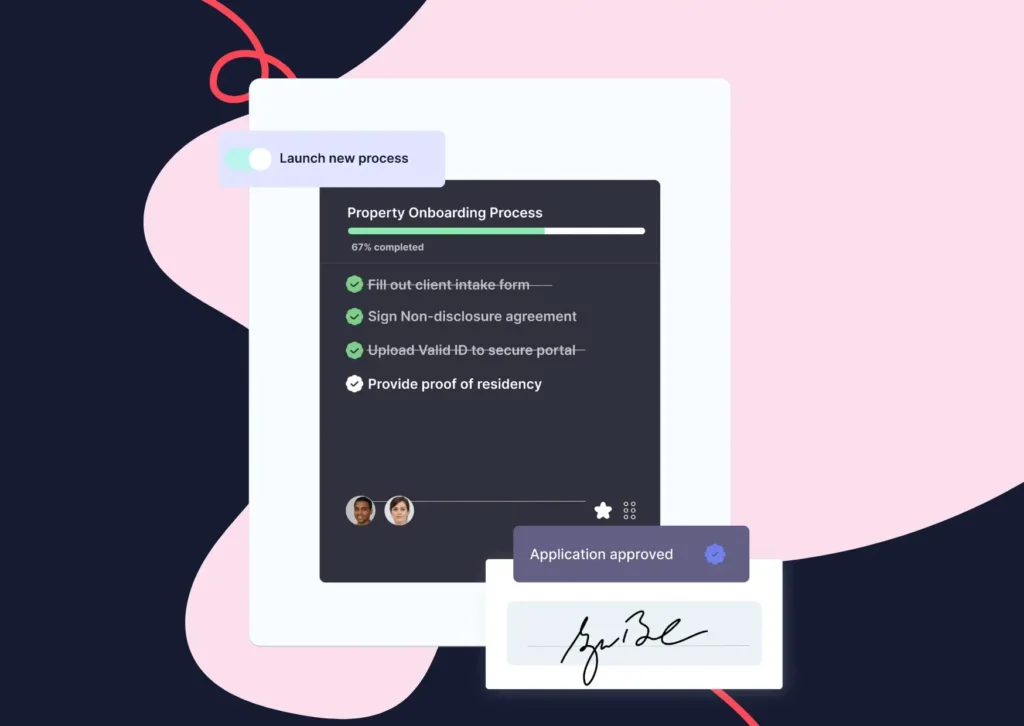
Unlike a PDF that just sits in someone’s inbox after they fill it out, an online form can trigger actions automatically.
With Clustdoc, when a client submits their information, the system can immediately request specific documents, route the submission to the right person for review, send it through approval workflows, or trigger follow up communications.
The form becomes the first step of your onboarding process rather than a disconnected artifact that someone has to manually move forward.
This automation is what makes the difference when you’re trying to scale.
Instead of every submission requiring manual intervention, the workflow handles the routine parts automatically and only surfaces items that need human attention.
Your team spends less time on administrative tasks and more time on work that actually requires their expertise.
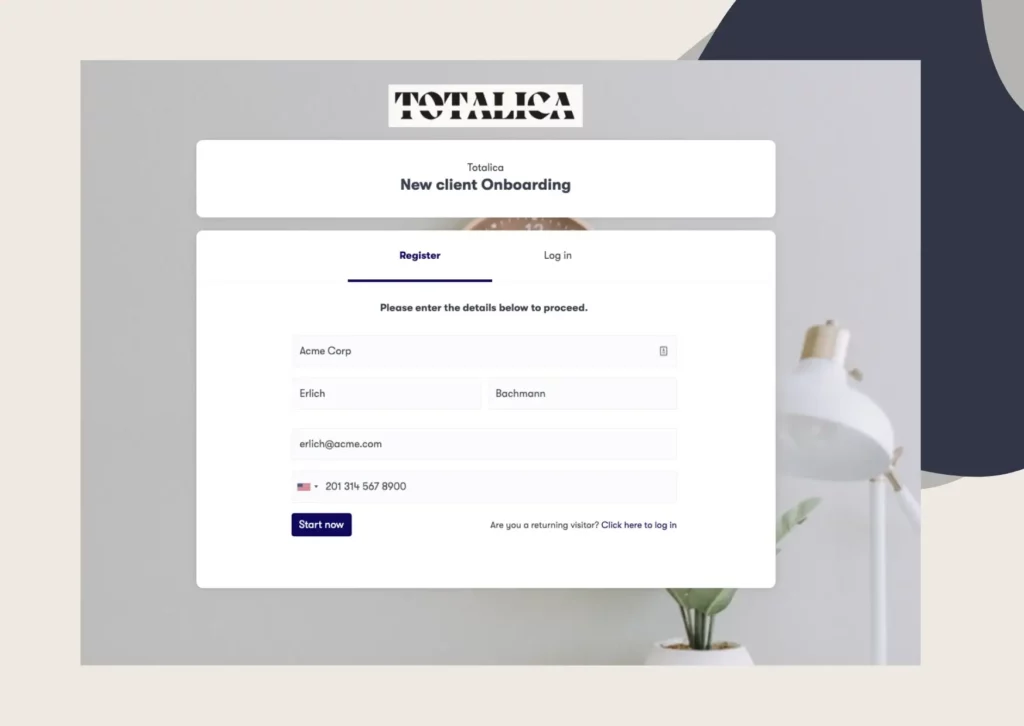
Clustdoc is designed specifically for teams making this transition from fillable PDFs and email based processes to structured onboarding workflows.
You can design online forms that collect the exact information you need in the format you need it.
Those forms connect directly to guided onboarding workflows that handle document requests, reviews, approvals, and client communications automatically.
The practical benefit is that you don’t have to abandon PDFs completely if they still make sense for certain situations. You can keep using fillable PDFs where they work well and shift to online forms and structured workflows for the parts of your process that need more consistency, visibility, and automation.
Still stitching emails, files, and approvals together?
Clustdoc gives teams one place to run client-facing work, boost customer engagement and increase compliance.

Claire writes about customer onboarding, digital processes, and the day-to-day challenges faced by operations teams. At Clustdoc, she focuses on practical insights: how organizations collect information, guide customers through complex steps, and improve service delivery with automation.