To automate client intake, you turn one standard form, a document checklist, signatures, reminders and file routing into a single flow. You set it up once, then every new client moves through the same steps.
That means less time spent chasing missing details, sending the same emails and manually moving files into the right folders. It also gives clients a clearer process, since they know what to submit and what happens next. Your team gets a more consistent record for every new client, with fewer chances for information to be missed.
Here are the five steps, in the order you should build them.
Build them in this order, because each step feeds the next one. For the thinking behind each decision, our longer guide on how to set up client intake automation covers the strategy in depth.
Most intake problems start before the client uploads anything. When every team member sends their own questionnaire, nothing downstream is predictable.
Agree on one standard form per service you offer. A practical way to get there:
Expect this step to take the longest. It forces decisions your paperwork has been hiding.
Ask only for what the next step actually needs. Never ask for data you could read from a document you are about to request anyway.
“Send over anything relevant” gets you fourteen attachments and none of the right ones. A checklist gives every required file its own slot, its own description and its own status.
Build one checklist per client type, not per client. Acceptable proof varies by country and lender, so write descriptions around your own requirements.
Describe each item the way you would on a call. “Bank statement” invites the wrong upload. “Statements covering the last three months, all pages, PDF from your online banking” gets the right file first time.
A checklist worth automating also lets you:
Where KYC or AML duties apply, each requirement gets its own named slot.
Somewhere in intake sits an agreement: an engagement letter, a mandate, a terms of business document. Printing, signing, scanning and emailing it back can add a week.
Put signing in the same flow as the form and the checklist. Once the uploads are approved, the agreement appears as the client’s next task, signable from any device.
Decide two things:
Clustdoc supports both signing orders and both signature types, and reports 40% faster turnaround on complex eSigning workflows.
Release the agreement only after the key documents pass review. You never want a signed engagement letter for a client who fails your checks.
This is the step where your team feels the payoff first. Nobody should write “gentle reminder” again.
Automated reminders run on two kinds of triggers:
Name the missing items in the message. “Please complete your file” loses to “we still need your ID and your last three payslips”. Send detail by email and use SMS when a deadline is close.
Write the templates once, in your own voice. Reminders chase only what is still outstanding, so nobody gets nagged about a finished task.
The same triggers can alert your own team. Set one for a file rejected twice and one for a case that has sat untouched for a week.
The last mile is where tidy processes fall apart. Someone downloads the attachments, renames them, drags them into folders and tells the reviewer it is ready. Or forgets to.
Set three routing rules on day one:
Every upload, rejection, approval and signature lands in a time-stamped audit trail. That record answers who approved what, and when.
Intake files hold IDs and financial records. Keep them in a GDPR compliant system that encrypts data at rest, not in an email inbox.
Map your client intake workflow first, then judge each option against the five steps above.
A tool that covers three of the five leaves you chasing the other two by email. That is the problem you started with.
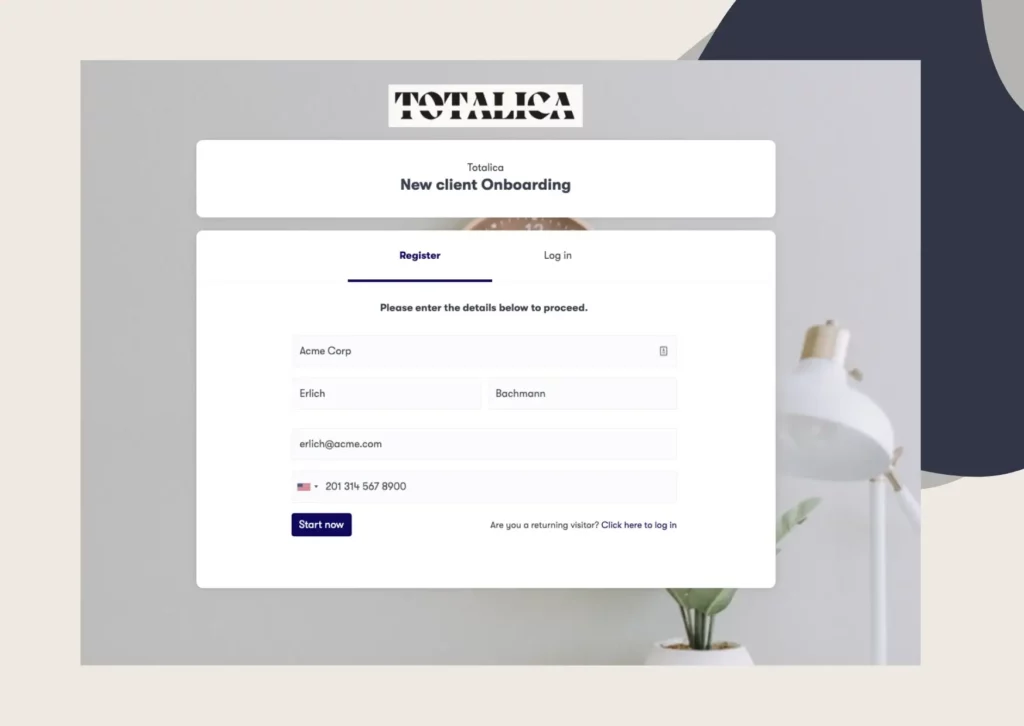
Ask whether the client-facing portal carries your branding instead of the vendor’s. Ask whether it can be embedded on your own website, so clients never have to leave it.
Run the shortlist against your own process, not against a demo dataset. Count the clicks a reviewer needs to approve one file. Check whether your team can review and approve from a phone, because that is where most approvals happen.
Our client intake software runs all five steps in one branded portal, and our customers report a 50% reduction in onboarding time.
Ready to see this on your own process? Book a demo call and walk through your form, your checklist and your approval steps live.
Most of the work is deciding what to ask for, not configuring the software. If your standard form and document list are already agreed, the build itself is short. If they are not, give those decisions two to three weeks.
Then run the flow on a handful of real clients before you roll it out to everyone. Their questions will show you which field descriptions are still unclear.
No. Conditional forms, document checklists, reminder rules and approval steps are all configured without code. Ready-made templates cover the common intake processes, so most teams start from one and edit it.
Clustdoc also offers a REST API and no-code connectors. Use those when you want completed intake data to move into your other systems automatically.
That depends on your service and your jurisdiction, so build from your own requirements rather than a generic list. Start with identity, proof of address and the financial records your review actually uses.
Where KYC or AML rules apply, add ownership and source of funds items. Requirements differ by country and by regulator, so confirm yours before you publish the checklist.
Intake is the front door, so the same flow can keep going. Extending it to automate onboarding end to end is a configuration change rather than a new project.
Kickoff tasks, multi-step approvals and payment collection sit in the same workflow. Your client stays in one portal instead of moving between tools and inboxes.
Track the days from signed agreement to complete file for your next ten clients, then compare that with the ten before. Watch where cases stall as well.
If they stall on the same document every time, fix the request wording from Step 2 rather than the reminder schedule. If most clients finish after the second nudge, your cadence is right.
Count the follow-up emails your team still writes by hand too. That number should fall close to zero within a month.
Still stitching emails, files, and approvals together?
Clustdoc gives teams one place to run client-facing work, boost customer engagement and increase compliance.

Claire writes about customer onboarding, digital processes, and the day-to-day challenges faced by operations teams. At Clustdoc, she focuses on practical insights: how organizations collect information, guide customers through complex steps, and improve service delivery with automation.