Landlord onboarding is the tenant onboarding process seen from the owner’s side. It covers everything between an enquiry and a move-in: the application, tenant screening, document collection, and the signed lease.
When it works, every applicant follows the same steps and every file lands in one place. When it does not, documents arrive by email in random order, screening criteria shift between applicants, and disputes become hard to settle.
This guide lists the rental application documents to collect, walks through a simple screening flow, and shows where tenant onboarding automation saves the most time.
Landlord onboarding means screening a new tenant and collecting their application, ID, income proof, and signed lease securely. A clear flow keeps records organized and fair. Clustdoc gathers rental documents and signatures in one portal. Book a demo, or start with the free landlord onboarding template.
Landlord onboarding is the process you use to take a new tenant from application to move-in. You decide what information and documents are required, the tenant provides them, and you keep a record of each step.
The process usually has four main parts: application, tenant screening, lease signing, and property handover. During these steps, you may collect ID, proof of income, references, screening results, the signed lease, deposit records, and move-in documents. Some of these records may need to be kept for years.
New tenant onboarding also affects the tenant’s first impression of you as a landlord or property manager. Clear instructions, quick updates, and one place to send documents make the process much easier.
You also need to follow the rules that apply to tenant screening, personal data, deposits, and tenancy records in your area, since these requirements can differ by location.
Request the same rental application documents from every applicant. Consistent requests keep screening fair and make applications easy to compare side by side. For a residential letting, the core list looks like this:
Commercial tenants need a longer list. You will usually add incorporation documents, financial statements, and a description of the intended use of the space. A dedicated commercial property rental application template keeps those extra requirements organized from the start.
Date every file you receive. Income proof and references age quickly, so a document from six months ago may no longer reflect the applicant’s situation.
The flow below works with folders and spreadsheets, and it works with tenant onboarding software. The tools change the effort involved, not the order of the steps.
Give every applicant the same package: the application form, the full document checklist, and the timeline for a decision. Put it in writing and send it through one channel. Scattered requests are the main reason files arrive incomplete.
Set a clear deadline and name one contact for questions. Tell applicants how their data will be stored and who will see it.
When something is missing, ask for it once, in a single message that lists every gap. Piecemeal follow-ups are how a quick step stretches across weeks.
Tenant screening starts with verification. Check the photo ID against the application details, and confirm the income documents support the rent. Call the previous landlord rather than relying on a written reference alone, because a short conversation reveals more than a signed letter.
Apply the same criteria to every applicant, in the same order, and record the outcome of each check. Consistent, documented screening keeps decisions fair, and it protects you if a decision is ever questioned.
Screening and anti-discrimination rules differ by country and state. Check local guidance before you decline anyone, and remember this guide is general practice, not legal advice.
Tell the applicant your decision promptly, and tell unsuccessful applicants too. Send the approved tenant one package: the lease, the deposit details, and any disclosures your jurisdiction requires.
Electronic signatures are recognized under frameworks such as the ESIGN Act in the United States and eIDAS in the European Union, though requirements vary by jurisdiction. Signing electronically also removes the printing and scanning round trip that delays many leases.
Whatever method you use, make sure every party receives the final signed copy. Yours belongs in the tenant’s file, next to the application and screening notes, not in an email thread.
Walk the property with the tenant and complete a condition report with photos, signed by both sides. Record meter readings, then hand over keys, access codes, and repair contact details.
Close the loop on paperwork the same day. Archive the application, screening notes, signed lease, condition report, and deposit records together in one file.
Delete anything you no longer have grounds to keep, such as documents from unsuccessful applicants. A complete file at move-in is what settles deposit disputes at move-out.
A tenant file contains identity documents, income records, and home addresses. That is exactly the data an attacker wants, and email inboxes are a poor place to keep it.
Collect documents through a secure channel rather than open attachments, and restrict access to the people who need it. Capture the applicant’s consent for how you use their data, and keep a record of it. Data protection rules such as GDPR limit how long you can hold personal data without a reason, and the details vary by region.
A purpose-built portal makes this easier than a shared drive. We store tenant documents in a secure branded portal and log every upload and approval in a time-stamped audit trail.
We can also delete data automatically when a retention period ends. The platform is SOC 2 Type II certified and GDPR compliant.
Most of the effort in a tenant onboarding process is chasing: reminding applicants about missing files, checking what has arrived, and updating whoever asks about status. Tenant onboarding automation removes that layer.
An automated flow sends the document checklist, accepts uploads, fires reminders for missing items, and shows each applicant’s progress in one dashboard. You review and approve instead of chasing and sorting.
Applicants feel the difference too. They see one checklist with their progress, upload from a phone, and sign without printing anything. Fewer confused emails reach you, and fewer applicants drop out halfway.
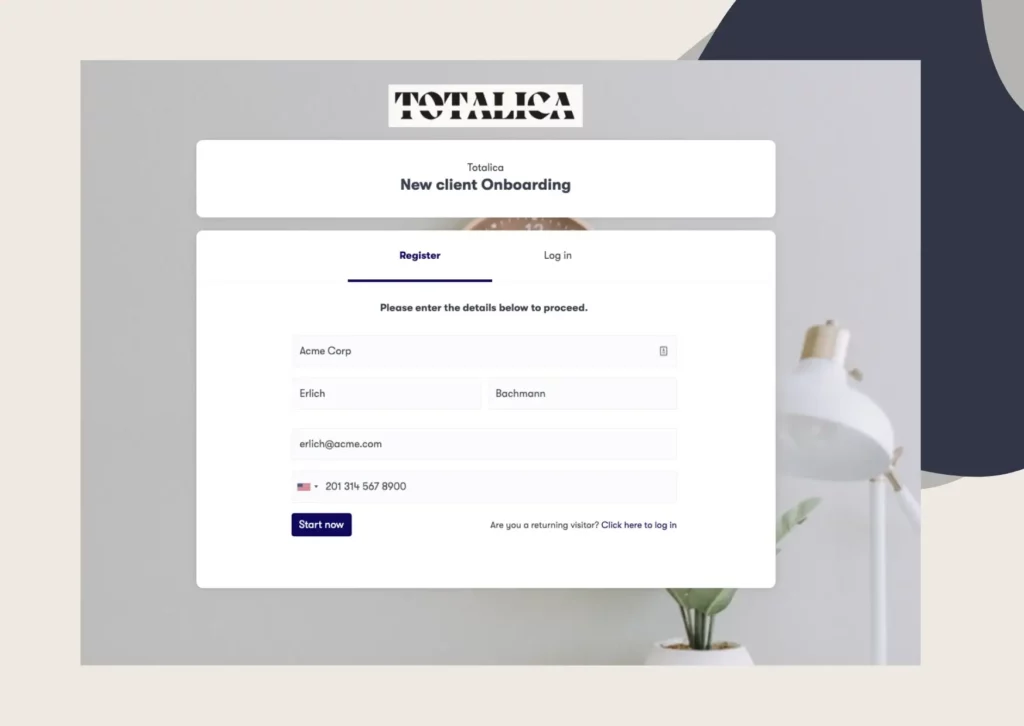
Our platform was built for repeated onboarding workflows like this. It combines the application form, document requests, identity verification, eSignature, and automated reminders in a single flow that applicants complete from any device. The ready-to-use landlord onboarding template gives you a working starting point you can adapt to your own requirements.
If you would rather see the whole flow set up for you, book a demo call with the Clustdoc team.
They are the same process from two sides. Tenant onboarding describes the steps the tenant completes, while landlord onboarding covers what the owner does: setting requirements, screening, and keeping records. Most advice for one applies to the other.
Property managers run the same flow across many units and owners, so consistency matters more. They usually standardize the document list, use templates for each property type, and report status back to owners. The steps themselves do not change.
That depends mostly on how quickly complete documents arrive. The biggest delays come from missing files and slow reference replies. A clear checklist and automated reminders shorten the timeline more than anything else.
Rules vary by country, state, and sometimes city. In general you can request what you genuinely need to assess the tenancy, such as ID, income proof, and references. Check local guidance before requesting anything sensitive, and apply the same list to every applicant.
Not always. A landlord with one property can manage with a folder and a checklist if records stay organized. Software earns its place once you handle several applications at once, because reminders, status tracking, and secure storage stop scaling by hand.
Still stitching emails, files, and approvals together?
Clustdoc gives teams one place to run client-facing work, boost customer engagement and increase compliance.

Claire writes about customer onboarding, digital processes, and the day-to-day challenges faced by operations teams. At Clustdoc, she focuses on practical insights: how organizations collect information, guide customers through complex steps, and improve service delivery with automation.