Bank client onboarding is the process of verifying, documenting and approving a new client before their account or financial service goes live. It covers everything from collecting personal or business information to identity checks, KYC requirements, risk assessments and final approval.
Because financial institutions operate under strict compliance rules, completing each step is only part of the job. Banks also need a clear record of what was checked, when it was completed and who approved it.
A well-structured process helps reduce delays, catch missing information earlier and give clients a smoother start. This guide walks through the sequence most banks, credit unions and lenders follow and explains what each stage needs.
Financial services onboarding follows the same seven steps almost everywhere. The exact requirements change by country, by institution, and by product.
Write down every document, approval, and handoff in your current process. Most teams find at least one step that survives only out of habit.
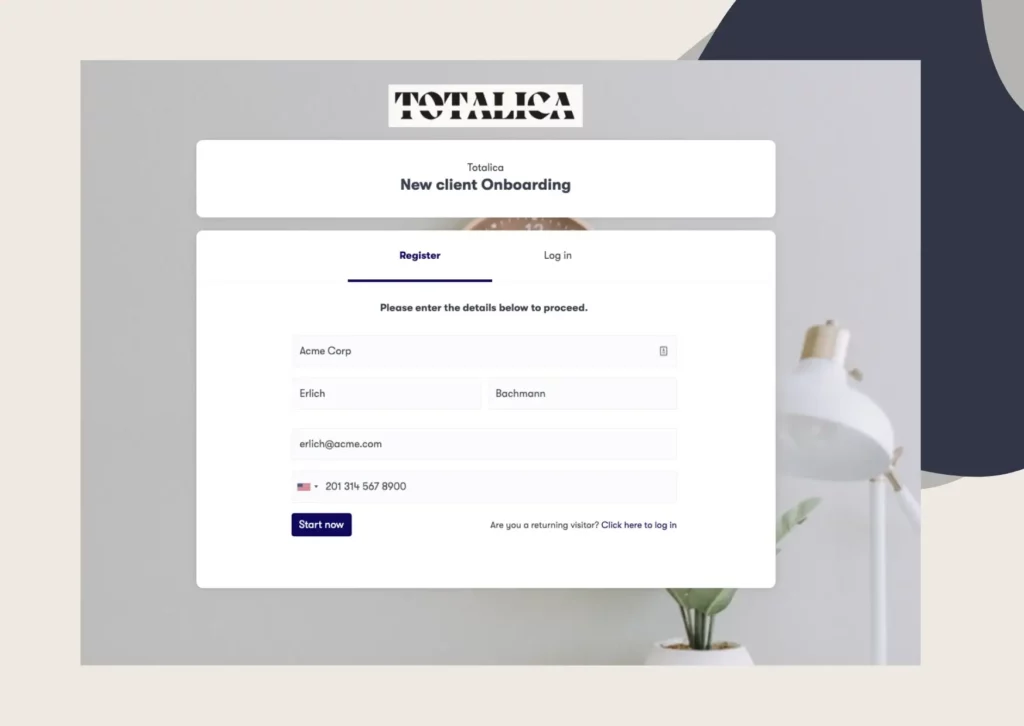
Turn that list into a single intake form. Conditional logic keeps it short, so a sole trader never sees the questions written for a corporation with five owners.
Ask for everything once, at the start. A second request for a document the client already sent is the fastest way to lose them.
Give every stage an owner and a target turnaround. If a file waits three days for review, that is a process problem, not a client problem.
Identity verification comes first in KYC onboarding. Every document you collect later has to attach to a confirmed person.
Most flows ask for a government issued ID plus a selfie, matched by an automated biometric check. Corporate clients add a layer, usually called KYB, covering formation documents and the identity of beneficial owners.
Done digitally, this takes a client about two minutes. Certified copies by post take days.
Decide up front what happens when a check fails. Most teams route the file to a manual review queue, request a second document, and record the reason either way.
What you request depends on the account type. The usual stacks look like this:
Which documents count as valid proof of address, and how recent they must be, varies by country and by institution. Some products also add questions about the source of funds.
Reject unreadable or expired files as soon as they arrive. Sending one clear message on day one beats finding the problem at final review.
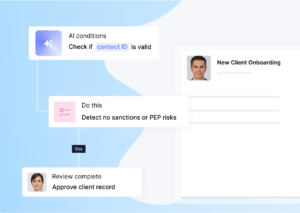
Names are checked against sanctions lists and, in many countries, against lists of politically exposed persons. What must be screened, and how often, varies by jurisdiction.
The output is a risk rating. That rating decides how much scrutiny the file gets now and at every later review.
Screen before you collect signatures. Unwinding an agreement you should never have signed is far more work.
Screening is not a one time task. Higher risk clients are usually re-screened more often, and the rules on frequency vary by country and by institution.
A complete file should move to its reviewer on its own. It should not sit in an inbox waiting for someone to notice it.
Approval workflows handle the routing. Standard files go to one reviewer, and higher risk cases route to a second pair of eyes.
Reviewers need accept and reject controls. A blurry ID can then be rejected with a note and re-requested in one action.
Give the client visibility while this happens. A status they can check for themselves stops the emails asking whether anything is missing.
The signing packet at this stage usually holds:
Electronic signatures are widely accepted for these documents. The signature type a specific document needs varies by country and by product, so check with your compliance team.
Joint accounts and corporate mandates often need several people signing in a set order. Sequential signing handles that without a chain of emails.
Store the signed copies with the rest of the file, not in a mailbox. Every signature should carry a time stamp and the signer’s details for later reference.
Onboarding does not end when the account opens. The file becomes the baseline for every future review.
Documents expire. Set expiry dates so the system requests refreshed copies before they lapse.
Keep a time stamped log of every upload, approval, rejection, and signature. Add consent capture and retention rules so data is deleted when regulations such as GDPR require it.
Set the triggers for a refresh in advance. A change of address, a new beneficial owner, or a scheduled periodic review should all reopen the file.
Drop-off is usually caused by how the checks are delivered, not by the checks themselves. These changes move the numbers:
None of this touches the rigor of the checks. It only stops your internal complexity from becoming the client’s problem.
The right onboarding software should make it easier to collect information, track progress, automate routine tasks and keep every client record organised in one place.
You can assemble this from separate tools, but the seams are where files get lost and audit questions get hard. Purpose built KYC onboarding software runs the whole flow in one place.
Whatever you evaluate, check for:
Our platform covers that checklist end to end, which is why banks, credit unions, fintechs, insurers, and financial advisors use it to run onboarding. Flows are built without code, and templates cover KYC checklists, credit applications, and commercial mortgage files.
Our workflows run in 10+ languages for clients spread across borders. Our customers report cutting onboarding time by up to 50%.
The compliance posture holds up too. Clustdoc is SOC 2 Type II certified and GDPR compliant, and role-based access controls mean each team member sees only what they should.
Book a demo call to walk through your own onboarding flow with the Clustdoc team.
A straightforward personal account can be completed in one sitting when the flow is digital. Business and lending files take longer, because ownership documents and income proofs have to be gathered and reviewed. Most delays come from waiting on the client, not from the checks.
Formation papers, proof of the company’s legal existence, ownership details, and IDs for beneficial owners and authorized signers. Many institutions also want board or partner authorizations. The exact list varies by country and by institution.
KYC verifies an individual person. KYB verifies a business entity, including who ultimately owns and controls it. Corporate accounts normally need both, because the company and its owners are checked separately.
Electronic signatures are widely accepted for financial agreements, and platforms can support both electronic and advanced signature types. Which type a given document requires varies by country and by product. Your compliance team or counsel makes that call.
Yes, provided the system records what it does. That means verified identity, a time stamped audit trail, captured consent, and retention rules that delete data on schedule. Digital flows usually produce cleaner evidence than email threads.
Still stitching emails, files, and approvals together?
Clustdoc gives teams one place to run client-facing work, boost customer engagement and increase compliance.

Claire writes about customer onboarding, digital processes, and the day-to-day challenges faced by operations teams. At Clustdoc, she focuses on practical insights: how organizations collect information, guide customers through complex steps, and improve service delivery with automation.